
Creality 3D® Ender-7
-
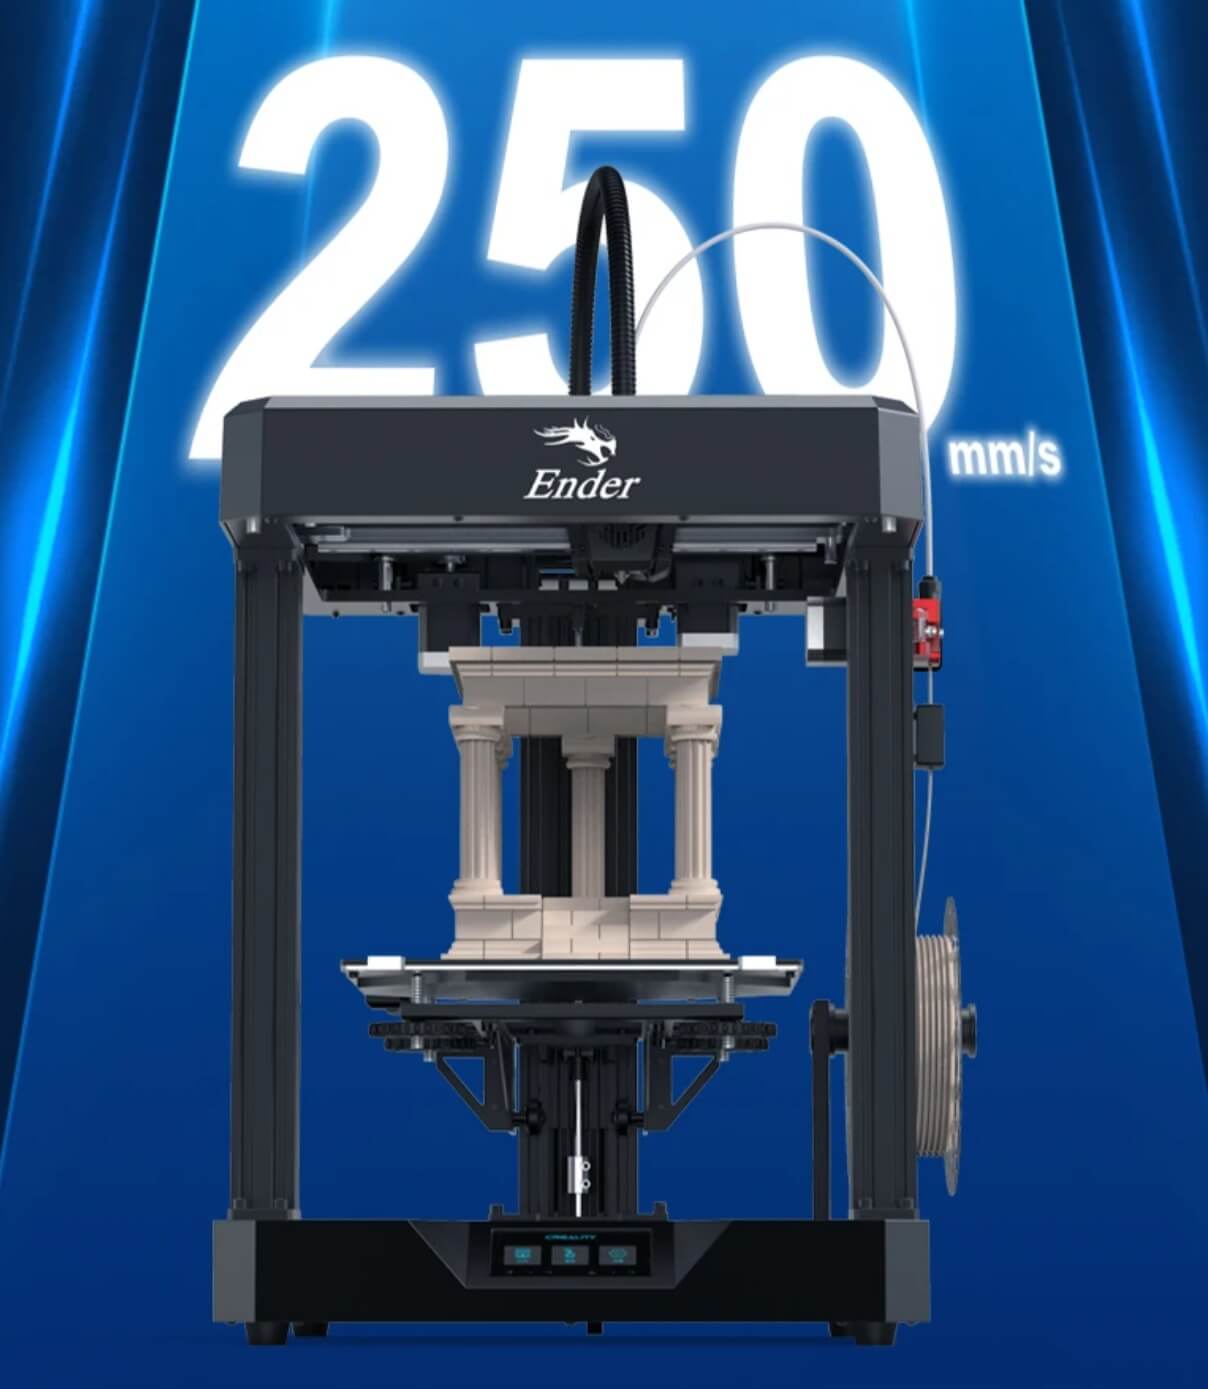
1: 250 mm/s High-speed printing
-
2: High precision linear rail
-
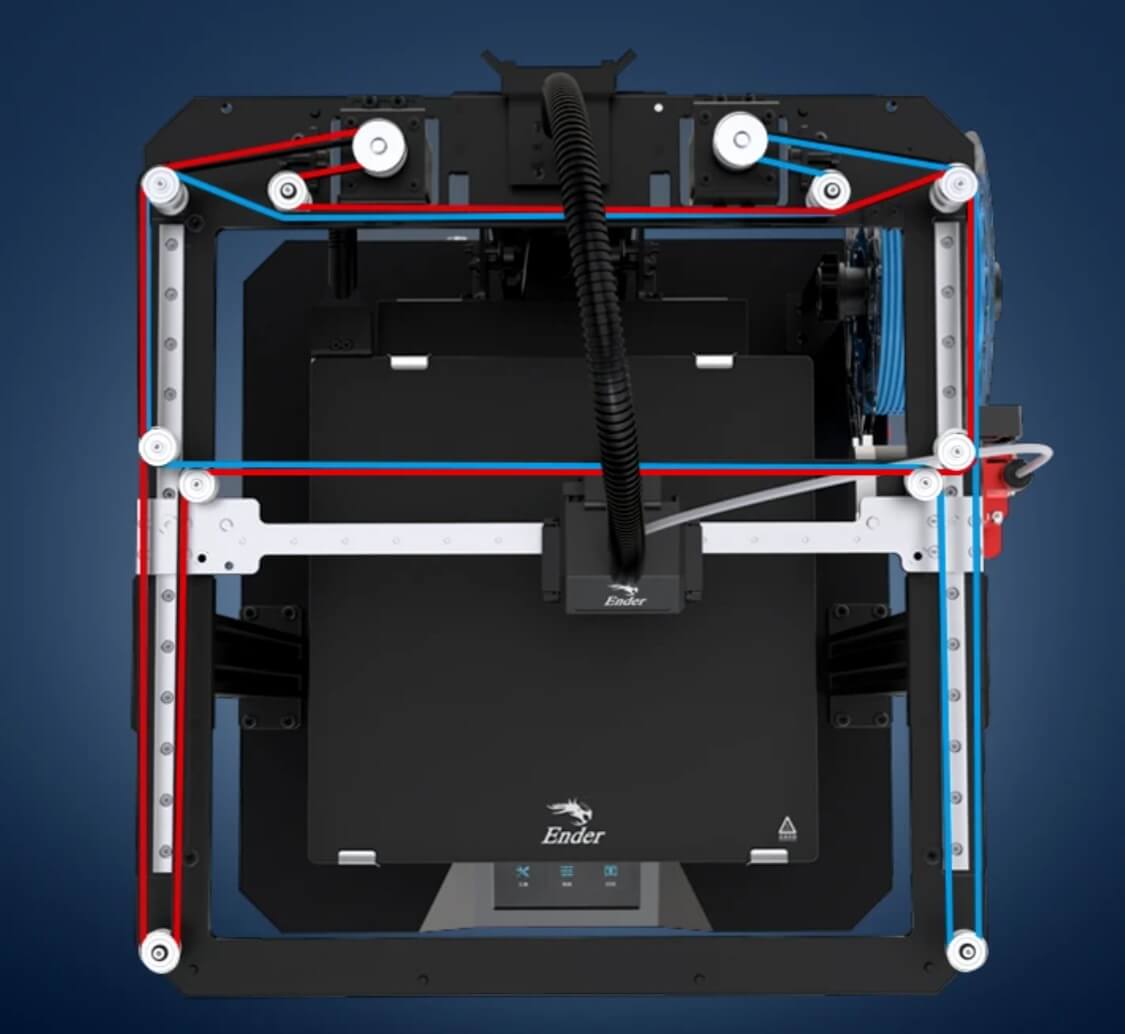
3: Core-XY Structure
-
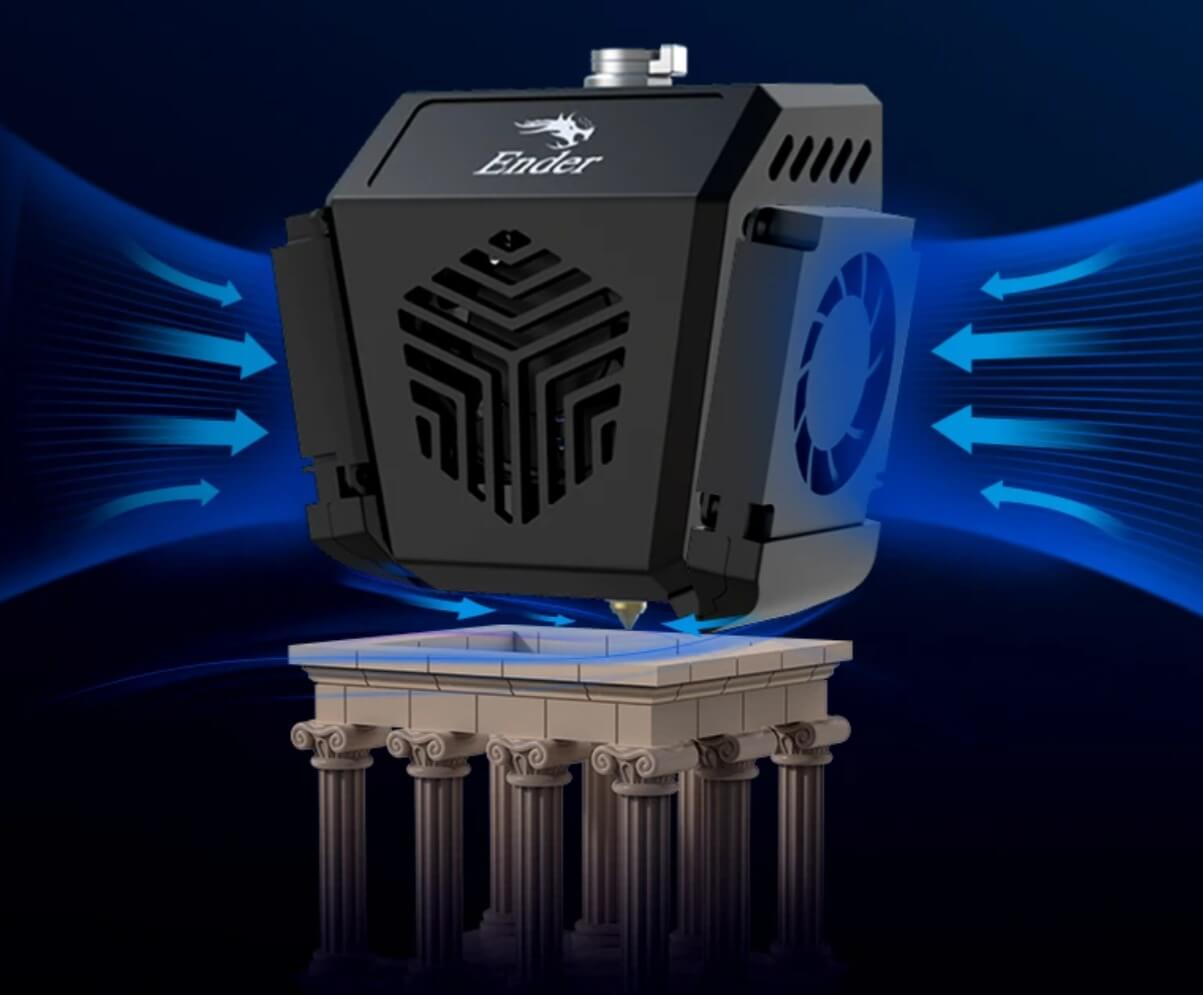
4: A customized high volume nozzle
-
5: Customized high-power motors
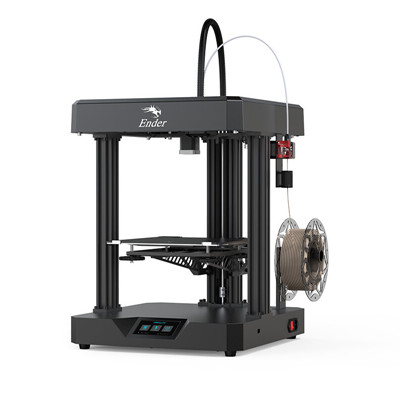
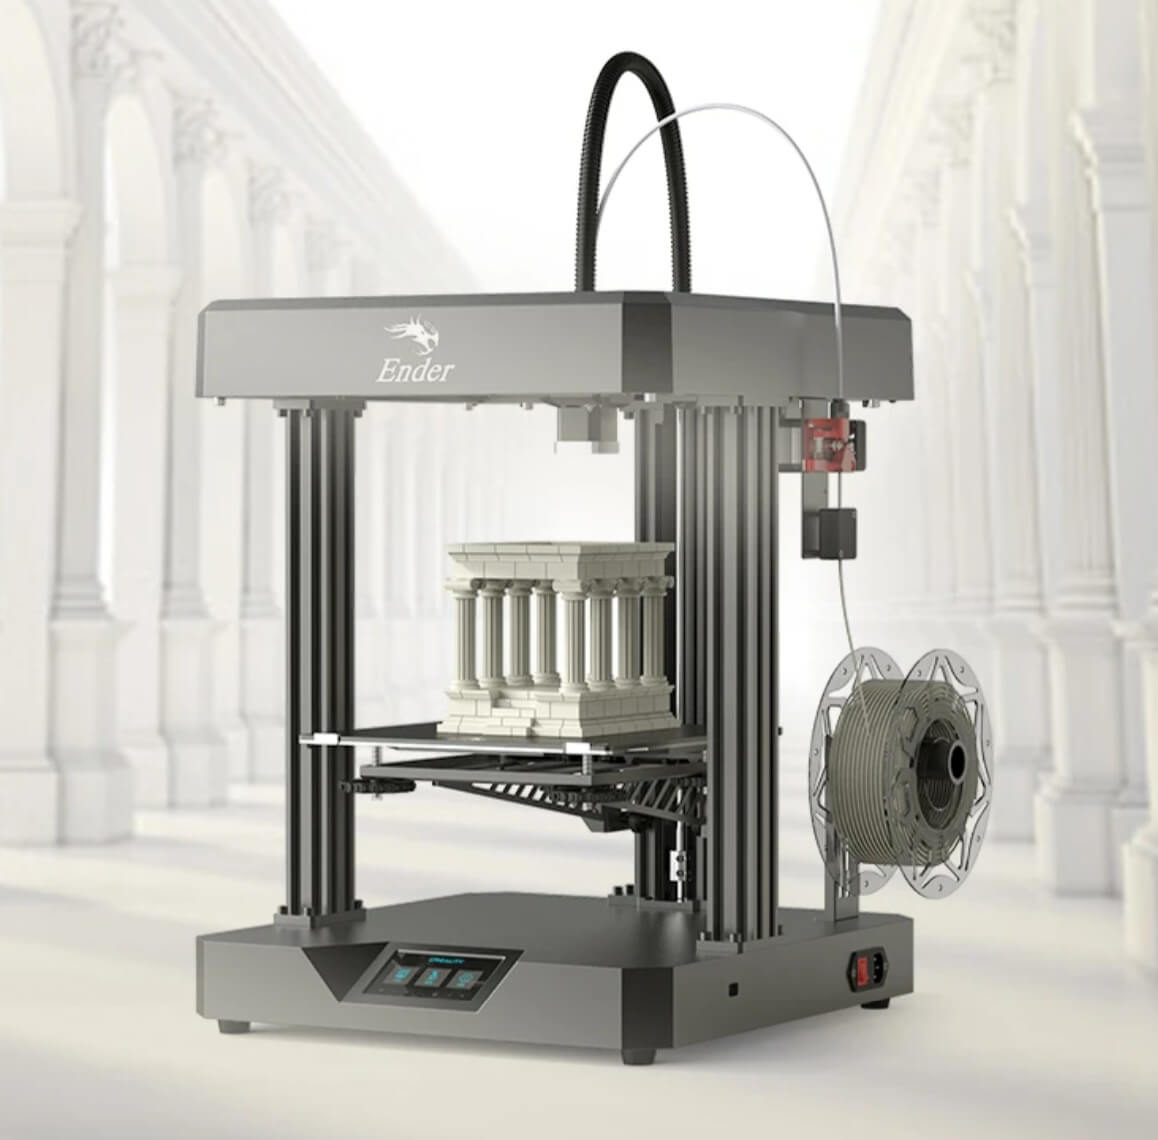
Creality 3D® Ender-7 FDM Core-XY Structure 3D Printer
The most important thing right at the beginning: In our opinion, this 3D printer is not necessarily something for absolute beginners. You should already have some experience with 3D printing. In general, you should keep in mind that the area of 3D printers for home use is currently a topic where it does not work that you assemble the device, fire it up and you immediately get the best results. This is because you first have to familiarize yourself with many things and settings. You have to have fun with 3D printing so that you don’t lose interest right after the first failed attempt.
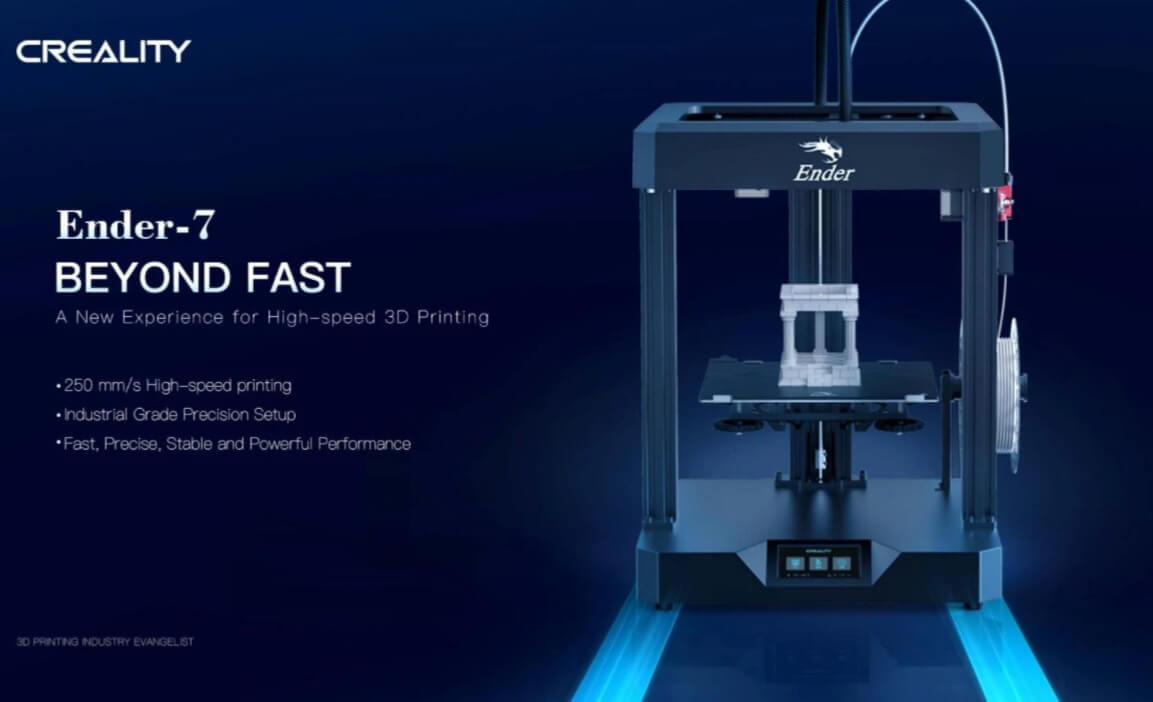
The new Creality 3D® Ender-7 3D printer has a comparatively large maximum printing area. This has a dimension of 250 mm x 250 mm x 300 mm. Thus, even very high models can be printed. This model belongs to the so-called CoreXY printers. In this type of 3D printer, the print head and the table on which it is printed do not move as in some other models, but only the print head performs the movements. The table is only moved further and further down, according to the height of the 3D model to be printed, but otherwise remains immobile.
If you’ve built a 3D printer before and know your way around, you’ll probably be able to build it in 45 minutes. All others will probably need a little longer with some skill. However, the assembly takes – also because of the good English-language instructions – no more than 1 hour. However, you should also be directly aware that this printer is of course also significantly larger than other models and has correspondingly more weight. According to the imprint on the box, this should weigh about 27 kg. This should be taken into account if you have to carry the package to a basement or attic. Perhaps it is then better to transport it to the assembly site, preferably in pairs.
Immediately upon opening the box, you can see that it is very well packed and the package contents are very well protected with foam. Gradually you get more and more individual parts when you take the different levels out of the box. It is best to lay out all the individual parts next to each other. Thus, the assembly succeeds best and you have directly all parts in sight.
The assembly starts with the base unit of the Ender 7, which houses the touchscreen display, the power supply and the mainboard. First, the aluminum profiles are attached to the front part of the base unit with screws and the included tools. The choice of screws is – as with the entire assembly – very simple. The instructions always state which type of screw is needed for which assembly step. The corresponding screws are packed in small bags and labeled accordingly. So you can’t do anything wrong here. Once you have attached the two front aluminum profiles to the base, the next step is to screw on the two rear aluminum profiles. Note that the profile with the connections is installed on the right rear side (viewed from the front) and the profile without connections is installed on the other side.
Next, you can screw the already pre-assembled upper part of the 3D printer onto the profiles you have just installed. Here you should make sure that the upper part is installed correctly and not crooked. Otherwise, the entire frame may warp and lead to unsightly printing results afterwards. Before you can install the next component on the Ender 7, you must first connect the print bed to the threaded rod for the Z-axis. Once this is done, you can then connect the Z-axis construction to the rest of the printer and install it.
The next step is to give the printer its enclosure. First of all, the right side of the enclosure is attached directly to the printer. Before installation, please check if the protective film on the Plexiglas pane has already been removed. Otherwise you would have to dismantle some parts later to remove the foil! Once the right pane is screwed on, the next step is the installation of the filament holder, the filament sensor and the extruder.
Now you can connect the print bed to the lower part of the printer by cable and connect the Y-axis motor. On the right side, the individual cables must also be connected to the connector board that is attached to the frame. The cables are labeled and also on the board the slots are labeled. Nevertheless, you should pay attention to which cables you install where. Sometimes they have the same size, in other cases the assignment is clear.
In the last steps before the printer can be started for the first time, the blue plastic corners, the remaining enclosure consisting of the left enclosure, the back and the two doors are installed. Before you switch on the printer, you should first check to which volt usage it is set. To do this, you will find a red slide switch on the right side where you can set the volt number. Since we have 230 V here in Germany, the printer should of course be set to this setting. After you have connected the socket with the power supply, you can switch on the printer for the first time.
If you prefer to see the setup in pictures, we recommend the following setup video from Creality.
The Creality3D Ender 7 3D printer boots into the operating menu very quickly after being switched on. For the settings, the entire screen is available as a touch-screen operation. Two languages are currently available: German and Chinese. Even if you don’t have to have any special knowledge of the English language to operate the device, you should still have familiarized yourself with the terms used in the 3D printing world. Otherwise, you will not understand which settings can be made and what they mean.
Before the printer can print its first model, the print bed must be leveled. The printer has its own function for this. If you select this function, the print bed is moved all the way up and you can select 5 predefined positions on the display and move the print head to them. The leveling of the print bed is done by 4 large adjusting nuts under the print bed. Leveling can be done e.g. with a DIN A4 sheet to find the right distance.
For the printer to be able to print the models at all, it needs filament of course. A small roll for the first test prints is already included with the printer. The roll can now be placed on the filament roll holder on the right side. To make it easier to feed the filament to the printer, you should cut the end at a 45 degree angle. This makes it easier to get the filament through the filament sensor and through the extruder. The printer should now heat up and you can slowly push the filament towards the print head until the first filament comes out.
If you are interested in 3D printing, you will have fun with the Ender-7 3D printer. Because of its size, this printer already offers the possibility to print particularly large but also particularly high 3D models. The setup and operation of the printer run quickly and are quickly learned after a few times and can then be done “blindly”. The volume of the printer is also much quieter than comparable printers in normal operation. However, one should not forget that the topic of 3D printing is still an area that users really have to deal with. It’s not just a device that you unpack and can use right away. The assembly, the settings and also the printing itself must be learned and improved in many cases before you get very good results.
The Ender 7 is a good printer with many possibilities, which are given by its size alone. Due to the enclosure, it is possible to print more difficult materials that are sensitive to air, etc. Another advantage is the possible printing speed. Due to the design of the printer, faster prints are possible here than on other models. So again printer is delivered, you can confidently use it for your purposes. Of course, there are still owners here and there who “pimp” their printer by adding LED lighting and other improvements.
SPECS
Product Details
| Features |
- High-speed printing, invigorating power - Linear rail, higher precision - Core-XY structure, precise control - Smooth discharge and stable feeding - Cooling sustainability despite under high temperature - Support 9 Languanges |
| Specification |
Molding technology: FDM Printing size: 250 × 250 × 300 mm Machine size: 430 × 460 × 570 mm Package size: 570 × 540 × 400mm Machine net weight: 17.2 kg Package gross weight: 22 kg Printing precision: ±0.1 mm Nozzle diameter: 0.4 mm Nozzle quantity: 1 piece Resume printing function: Support Filament detector: Support Extrusion method: Remote extrusion Hotbed temperature: ≤ 100℃ Nozzle temperature: ≤ 260℃ Printing layer thickness: 0.1mm-0.4mm Print bed: Carborundum glass Power rating: 350W Printing material: PLA/ABS/PETG Material diameter: 1.75 mm |
REVIEWS
Disclaimer Note
Ratings are based on objective reviews from our users.

HOT DEALS


